You can divide each part of the web page into different rows. You can also display content in full width and set the padding, margin, and border. There are six different customization options in row element. We have described these options in detail below.
Overview
General
With the help of general tab, you can make minimal changes in row for particular page. With general settings, you can make changes such as row stretch, column gap, content position, and much more.
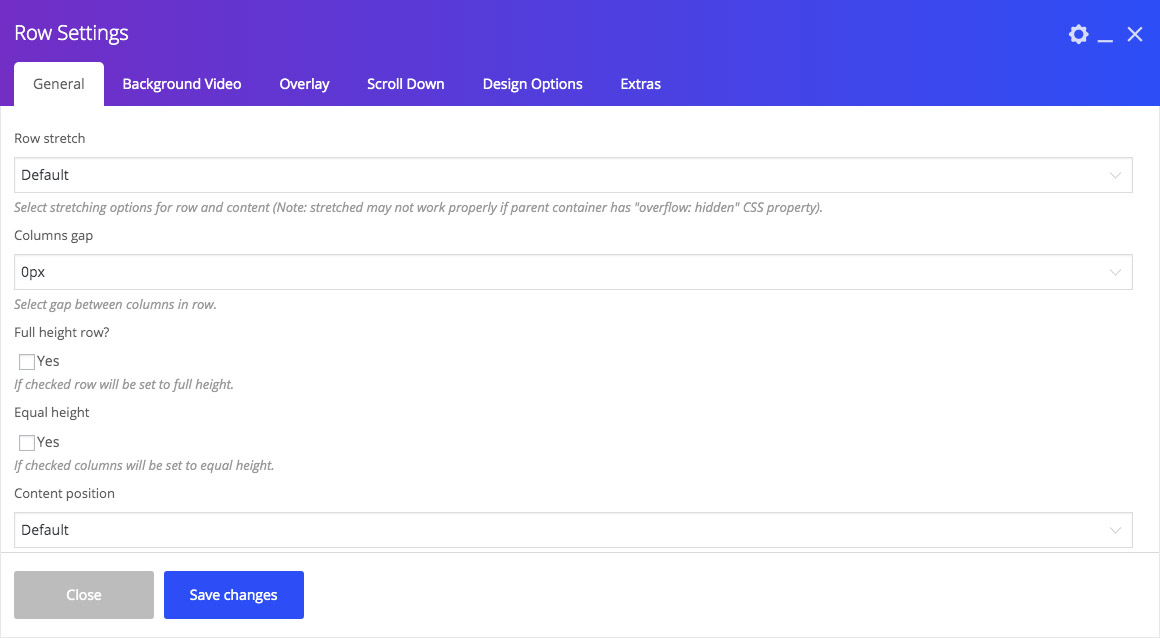
Have a look at below to get detailed knowledge of general row setting.
| Row stretch | Select stretching options for row and content. Note: stretched may not work properly if parent container has “overflow: hidden” CSS property |
| Columns Gap | Set gap between columns, all columns within row will be affected by this value. |
| Full Height Row? | Set row to be full height. Note: if content will exceed screen size then row will be bigger than screen height as well |
| Equal Height | Set all columns to be equal height. Note: all columns will have same height as longest column |
| Content Position | Set content position within columns – Default, Top, Middle, Bottom. Note: Default value will be used top or other if defined within theme |
| Parallax | When you want to add parallax background for row, this option is helpful. Note: If no image is specified, parallax will use background image from Design Options |
| Parallax background ratio | This option is to select parallax background scrolling ratio within row. |
| Disable Row | Click yes, If checked the row won’t be visible on the public side of your website. You can switch it back any time. |
| Position Relative | If you want to show all belonging content to this row and those content should not display outside particular row, choose this option. |
| Overflow | When you want to select different visibility of content overflow from hidden to visible and auto, choose this option. |
| Z-index | This property specially used when you want to specify the stack order of any row content. It is an option with greater stack order and it is always in front of an element with a lower stack order. |
| Add Margin Top of Header Height | If you select this option then the row add spacing in header height. |
| Full Width Header Sticky? | You can use this option, when header header in container layout and select on for sticky full layout. |
| Footer Style | If you want to select type of footer section, use this option. |
| CSS Animation | Select type of animation for row to be animated when it “enters” the browsers viewport. |
Thus, these are general row settings that you can customize according to your interest.
Background Video
When you want to use video in the background, use this feature. By clicking yes, a video will play in the row background.
To set background video, you can also select the types of background video such ad self, YouTube, Video.
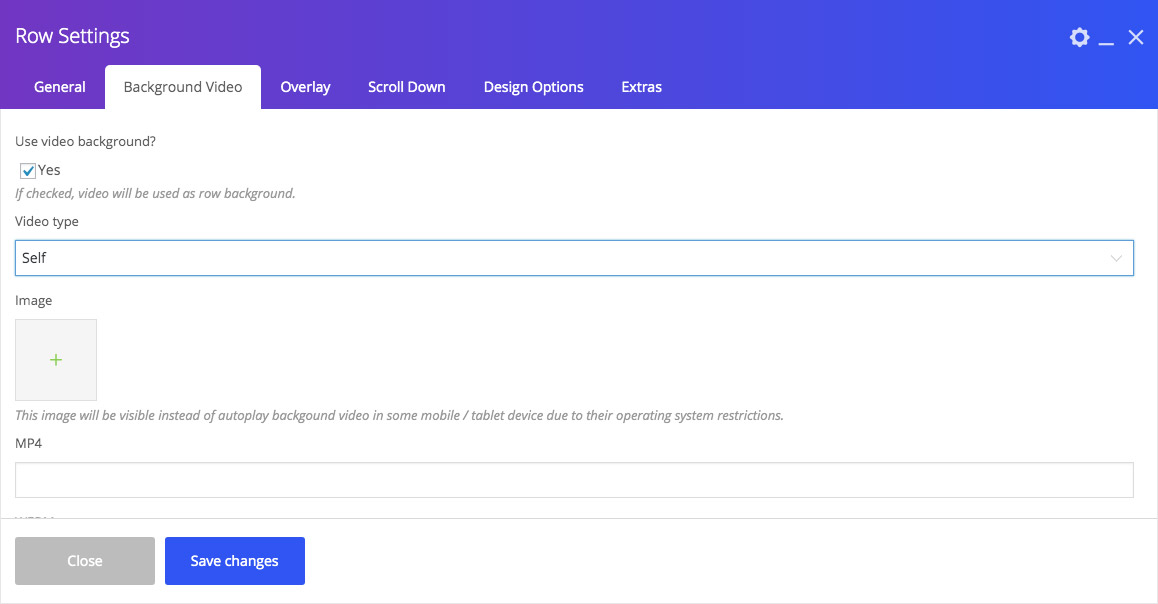
When you select self :
| Image | This image will be visible instead of autoplay background video in some mobile / tablet device due to their operating system restrictions. |
| MP4 | This option to add mp4 type of video URL. |
| WEBM | This option to add WEBM type of video URL. |
| OGG | This option to add OGG type of video URL. |
| Loop video | This option for video in loop mode. |
| Mute | This option for mute video. |
If you select YouTube :
| YouTube | This option to add YouTube video URL. |
| Parallax | Select YouTube video parallax background for row. |
If you choose Vimeo :
| Vimeo | This option to add Vimeo video URL. |
Overlay

If you want to add an overlay in row, use this setting. When you select “on” button, you will see below settings.
| Overlay Color | It shows overlay color. |
| Overlay Opacity | If you want to set the overlay opacity level, use this option. |
| Z-index | This option specifies the stack order of an overlay. An element with greater stack order is always in front of an element with a lower stack order. |
This is all about row element and its settings and what you just read is a vital part for building a webpage. With row shortcode, you can make a fancy web page.
Scroll Down
Click “On” button in a row setting to add scroll down navigation. You can also make different changes like below.
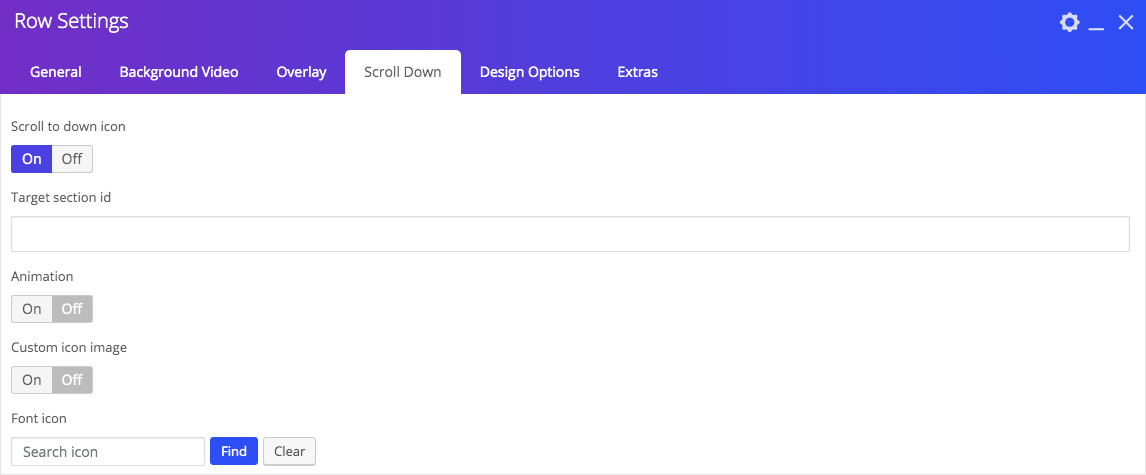
| Scroll to down icon | Checked On to add Scroll down icon. |
| Target section id | Define particular target area by adding target section with it. |
| Animation | Checked on for Scroll down icon animation. |
| Custom icon image | Checked on if you want to add custom icon image for scroll down. |
| Font icon | Various options to choose scroll down icon. |
| Icon color | Change scroll down icon color with this option. |
| Icon hover color | Change icon hover color. |
| Icon background color | Scroll down for icon background color. |
| Icon hover background color | To change hover background color, select this option. |